Copyright
©The Author(s) 2015.
World J Stomatol. Nov 20, 2015; 4(4): 141-145
Published online Nov 20, 2015. doi: 10.5321/wjs.v4.i4.141
Published online Nov 20, 2015. doi: 10.5321/wjs.v4.i4.141
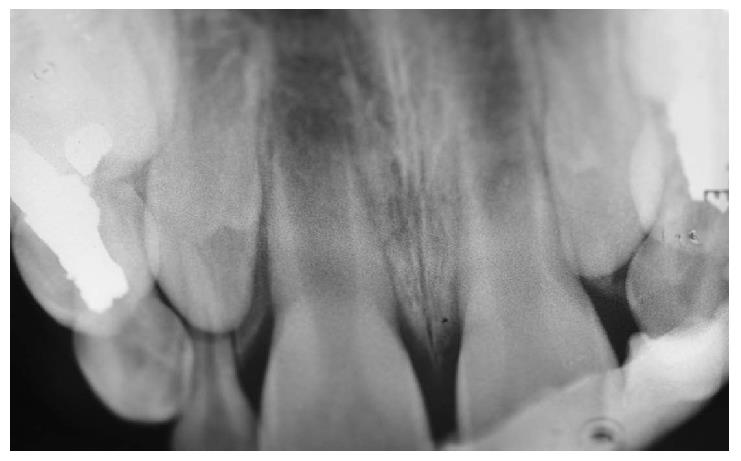
Figure 1 Two days after the avulsion and re-implantation of tooth number 21.
A composite splint is in place (November 2012).
Figure 2 Three months after trauma.
Note complete root resorption of tooth number 21 (December 2012).
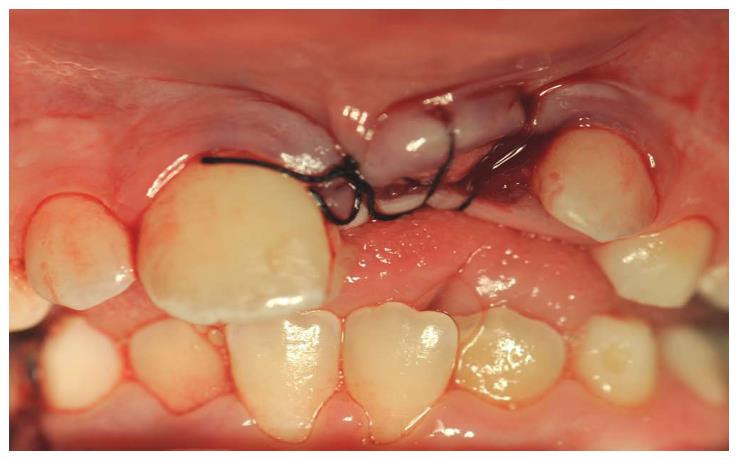
Figure 3 Splint with glass-fibers ribbon as temporary treatment till the surgery.
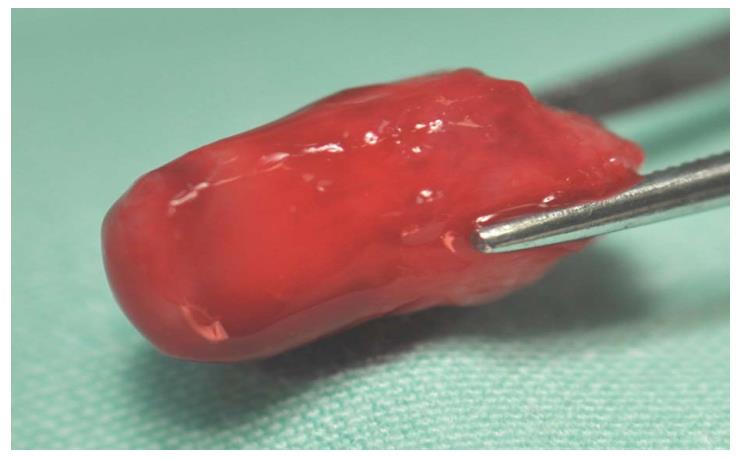
Figure 4 Tooth number 21 after extraction.
Note the resorption lacunae.
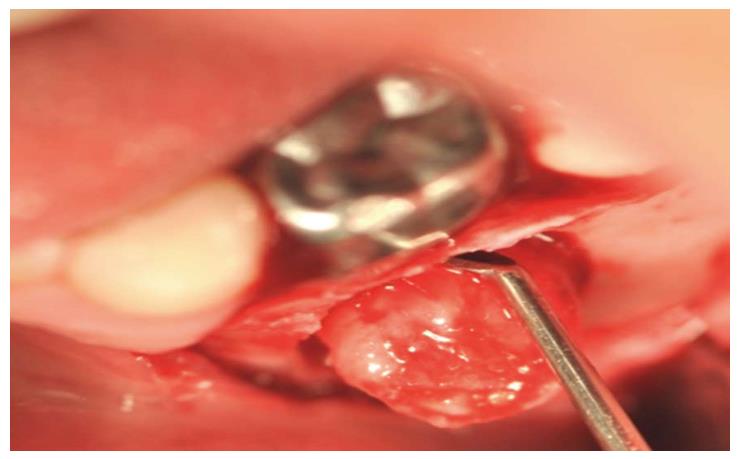
Figure 5 Exposure of the donor germ, tooth number 34 from the buccal, while tooth number 74 covered by a stainless steel crown remained stable and functioning in the mouth.
Figure 6 Donor tooth extracted with its entire follicle, before transplantation.
Figure 7 Donor tooth transplanted to the anterior region instead of tooth number 21.
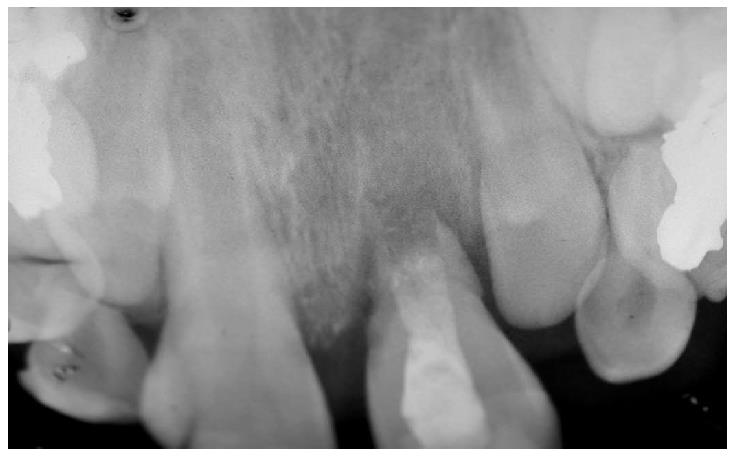
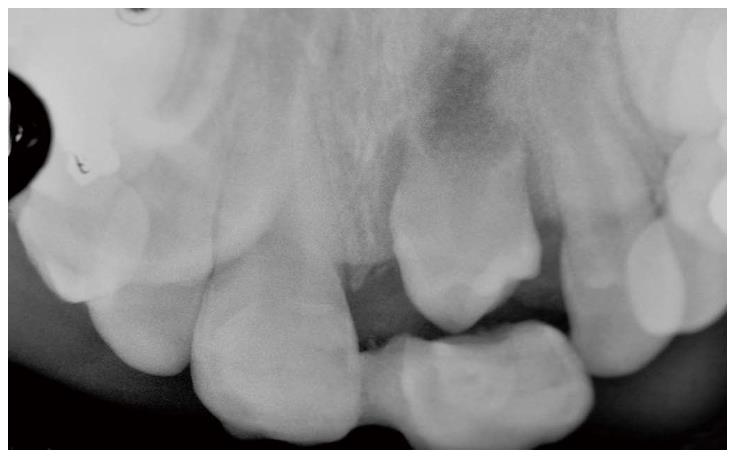
Figure 8 Final X-ray after autotransplantation and fiber-glass and composite bridge.
Figure 9 Crown restoration of the donor tooth after a month and splint to tooth number 11.
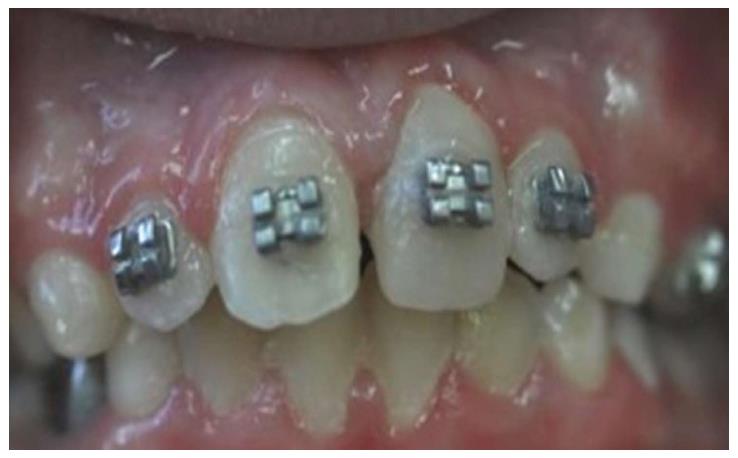
Figure 10 End of the orthodontic stage.
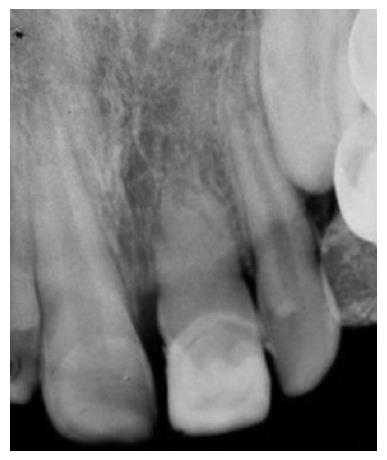
Figure 11 Follow up 15 mo after autotransplantation.
Note root development, pulp obliteration and continuous periodontal ligament.
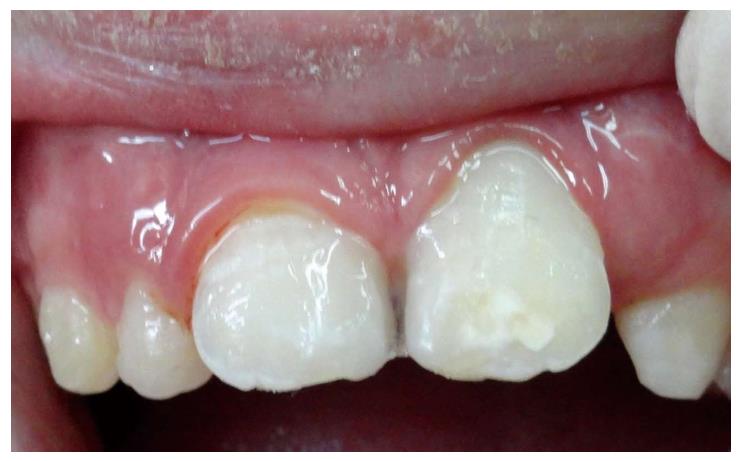
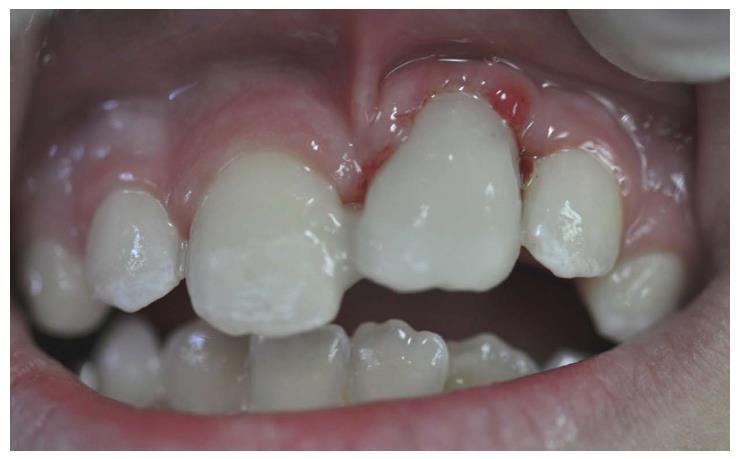
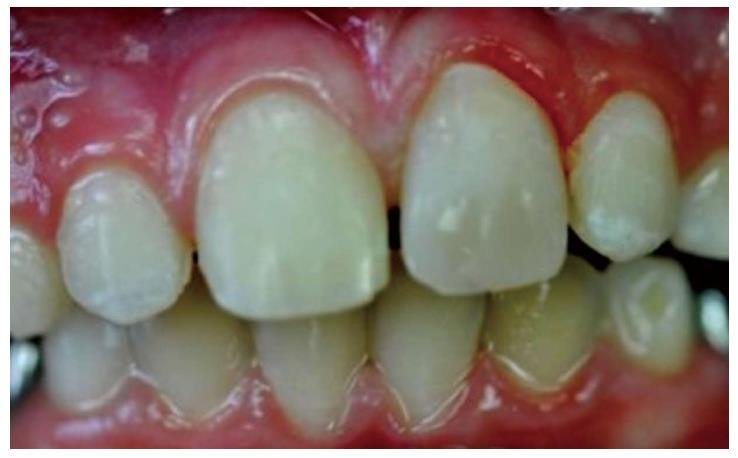
Figure 12 Clinical views of the 15 mo and last composite restoration.
- Citation: Zilberman U, Zagury A. Autotransplantation of a premolar to the maxillary anterior region in young children - how long should the donor root be? A case report. World J Stomatol 2015; 4(4): 141-145
- URL: https://www.wjgnet.com/2218-6263/full/v4/i4/141.htm
- DOI: https://dx.doi.org/10.5321/wjs.v4.i4.141


